
This blog is all about properly setting up your LocalWP site to allow hosting it publicly. This was a process to figure out, so enjoy!
Installing and configuring LocalWP is the first part of the setup to expose a locally hosted WordPress site to the internet. Check out this blog to see what the entire setup looks like:
#1 Hosting WordPress Locally for Free
- Installation process
- Download and install LocalWP
- Add and configure you local WordPress site
- Additional configuration
- Edit wp-config.php
Installation process
Installing LocalWP is as simple as it gets.
Download and Install
Click here to go to LocalWP.com and download the software:
Install LocalWP and follow the steps to create your local WordPress site.
Add and configure your WordPress site
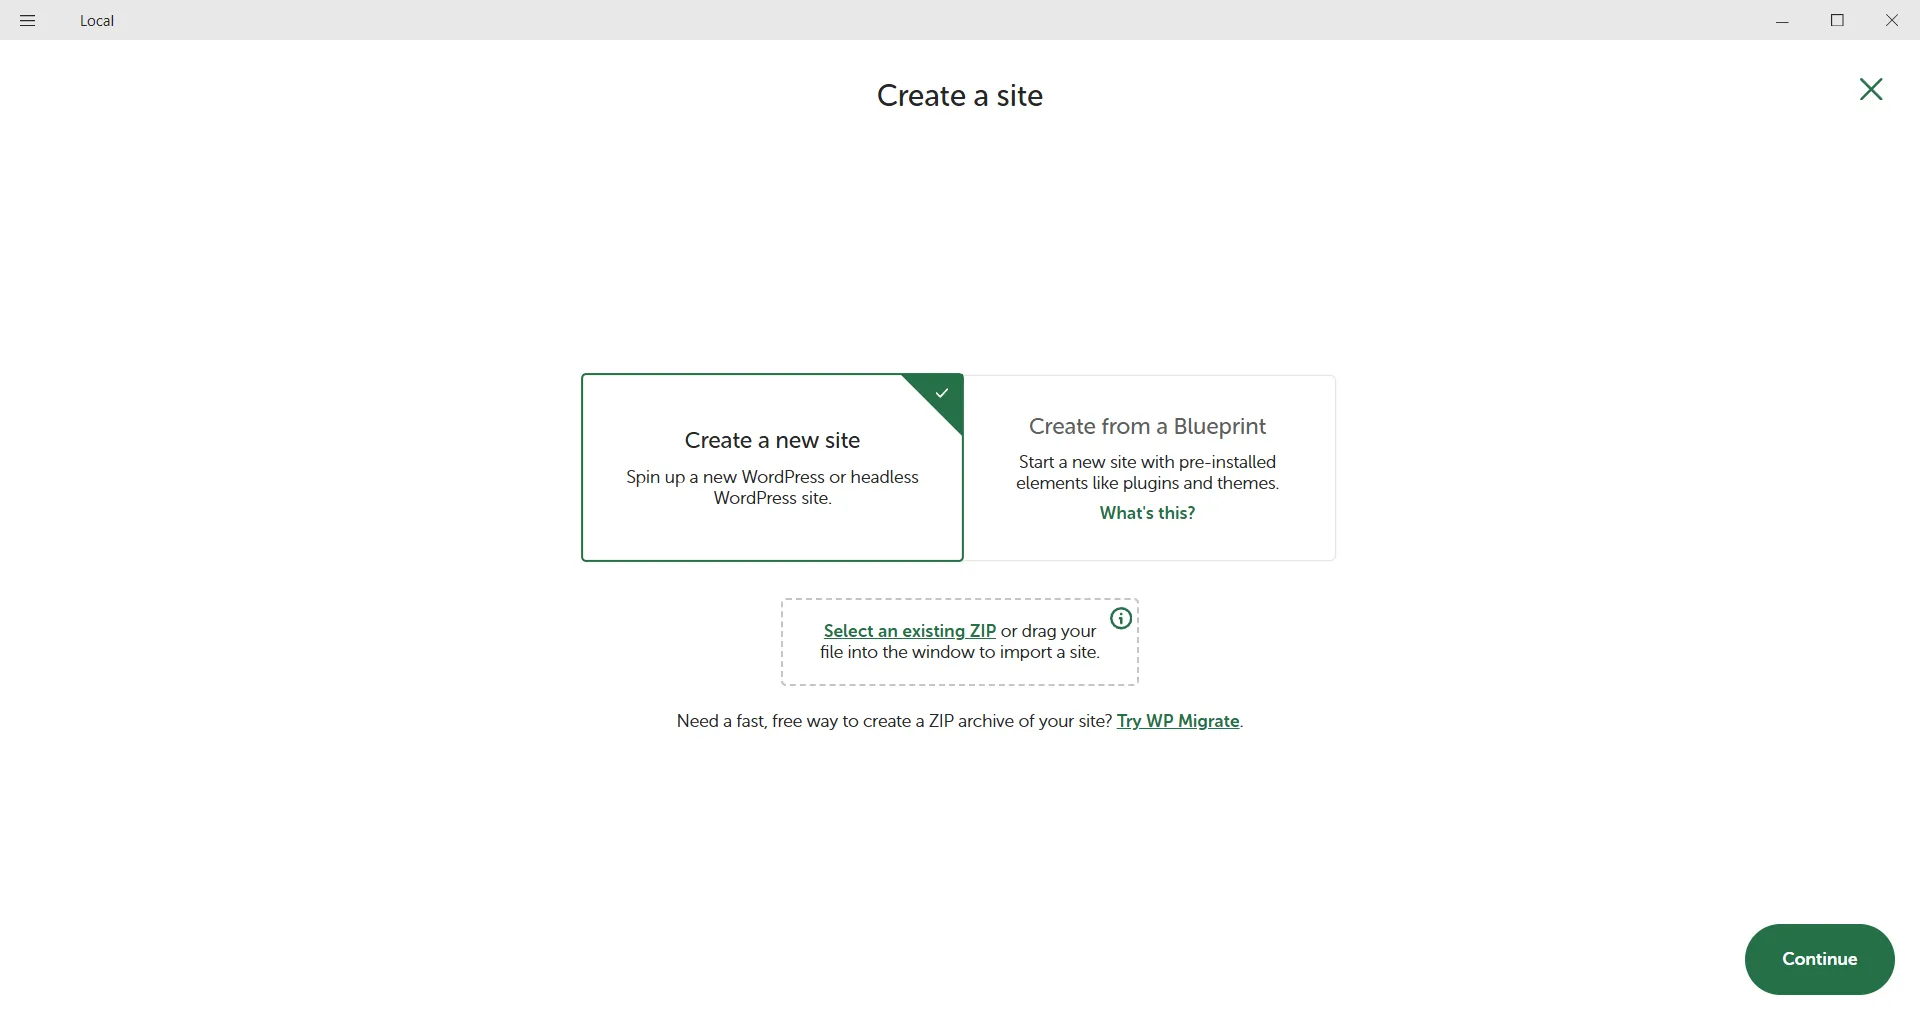
Step 1: Click on the + to start creating your site.
Step 2: Select Create a new site
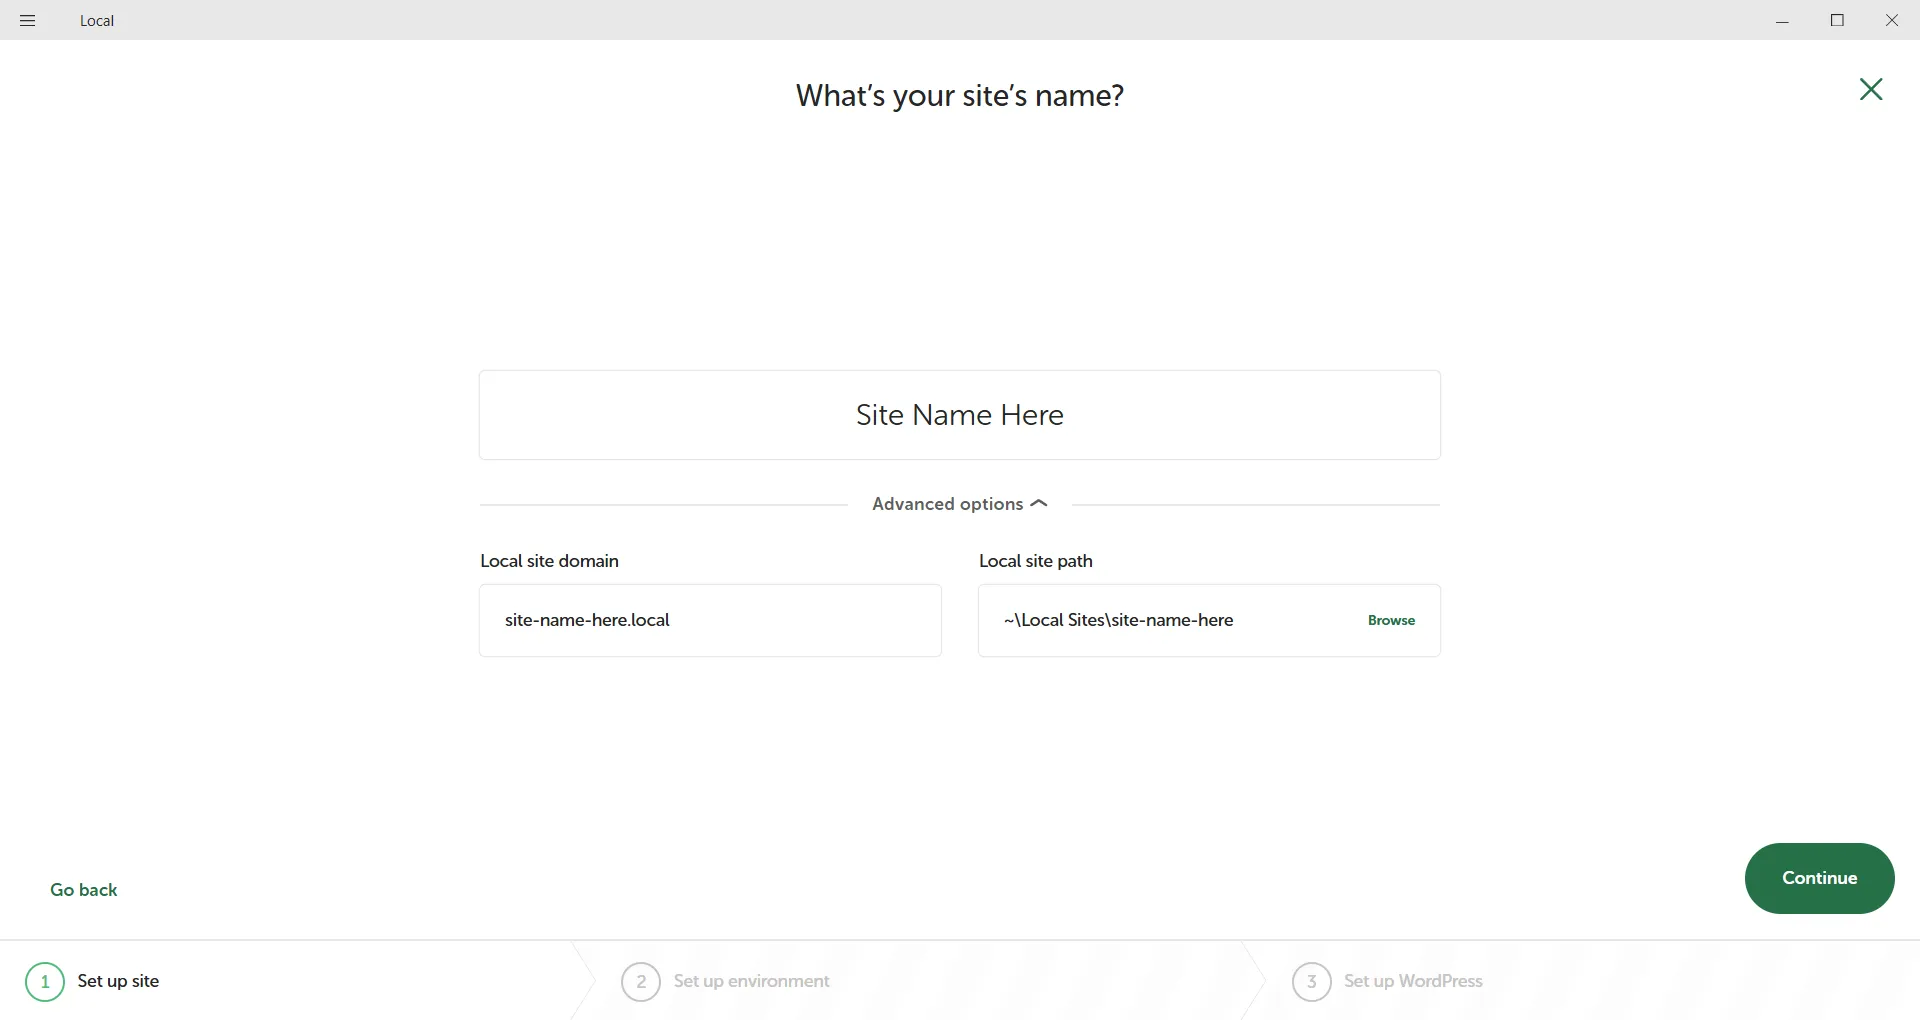
Step 3: Give your site a name.
- The local site domain is the URL that you will use locally to visit your WordPress site.
- The local site path is where your WordPress site and all content will be stored.
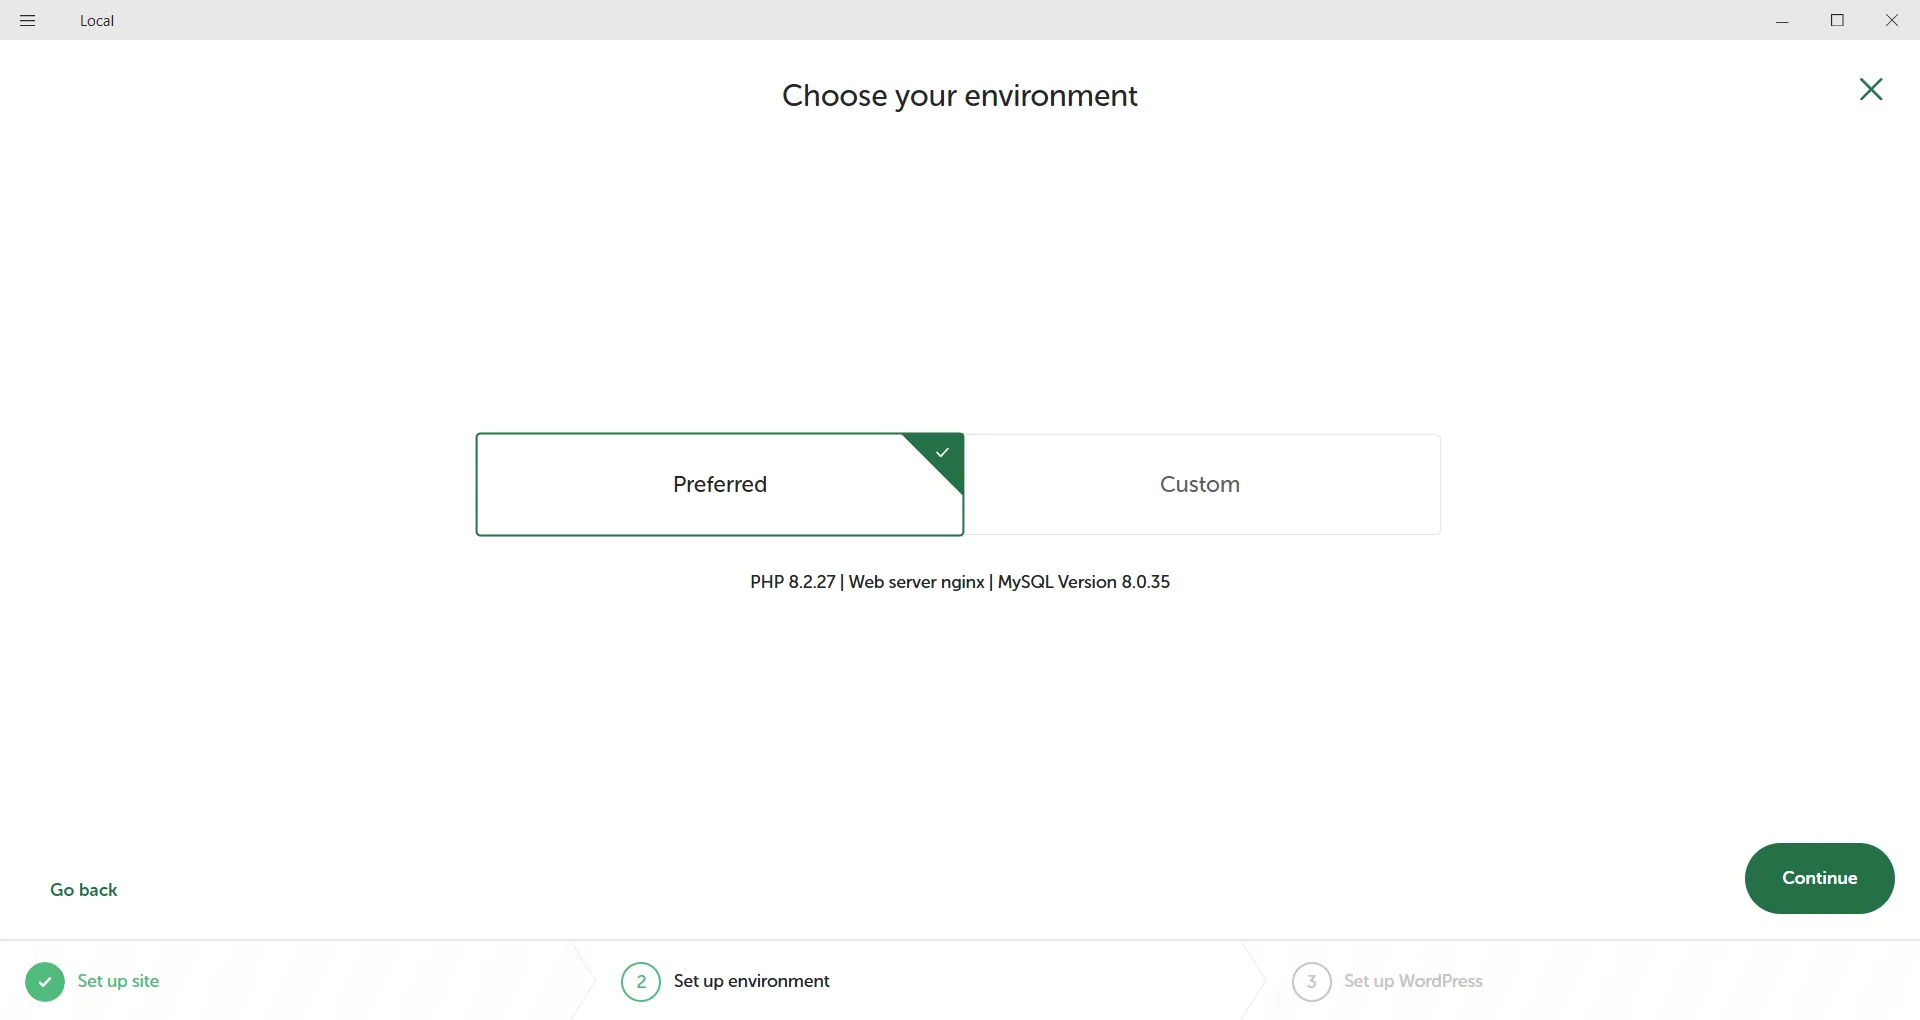
Step 4: Select the preferred installation.
- The Custom options allows you to choose the versions of MySQL, PHP and nginx that will be used. Preferred just uses the latest stable versions.
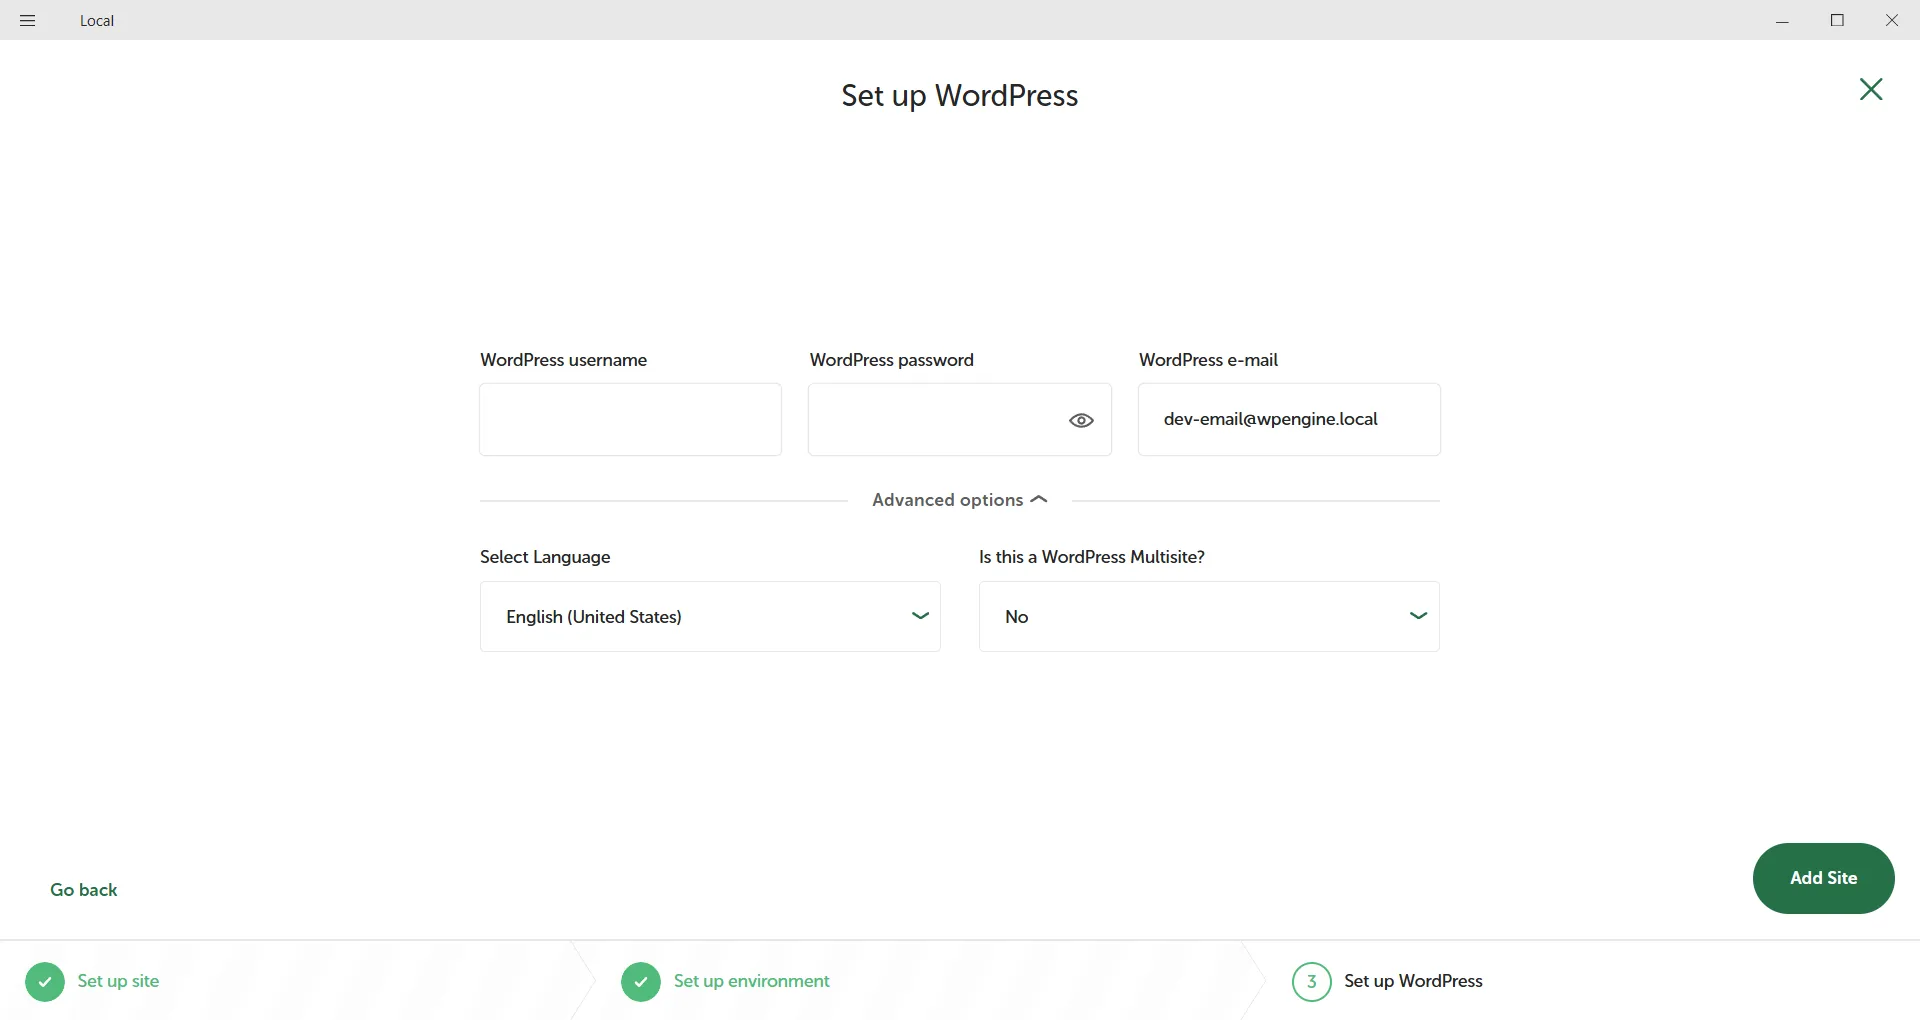
Step 5: Create an administrator account. With this account you can control everything on your site.
- Multisite is used when you want multiple domains to point to your site. For this setup it is not necessary.
It will take a minute or two to install and there you have it, your own local WordPress site!
Additional configuration
Edit wp-config.php
WordPress has some settings built in to only allow connections to your site directed from pre-defined domains.
In this case the allowed domain is the local site domain that was setup previously (You can still see this domain in the dashboard of LocalWP).
This causes issues down the line when you want to reach your locally hosted WordPress site over the internet coming from some custom domain that you bought. TO get around this we need to add some logic to the wp-config.php file.
In you LocalWP dashboard, right below your site name, there is a link to the “Site folder ‘. This takes you to where your WordPress site is installed, where all the required files live.
From the main directory, you should find the wp-config.php file here:
app -> public -> wp-config.php
Open the file using your text editor of choice. I opt for using VS Code or Notepad++
Scroll down until you see the note that says add custom values and add the following lines of code:
/* Add any custom values between this line and the "stop editing" line. */

if ($_SERVER['HTTP_HOST'] === 'mfa-software-blog.local') {
    define('WP_HOME', 'http://blog.mfasoftware.net');
    define('WP_SITEURL', 'http://blog.mfasoftware.net');
} else {
    define('WP_HOME', 'https://blog.mfasoftware.net');
    define('WP_SITEURL', 'https://blog.mfasoftware.net');
}
Where,
mfa-software-blog.local is your local site domain
blog.mfasoftware.net is your public domain that you bought
This ensure that when HTTP is used to request your WordPress site, the local site domain is allowed, but when HTTPS is used, the custom domain is allowed. Therefor your site will now work locally and once your WordPress site is exposed to the public.
I hope this was helpful! Check out our other content for locally hosting WordPress.
Leave a Reply